Sprouts vs Microgreens: What’s the Difference?

Sprouts vs Microgreens: What’s the Difference?

Sprouts and microgreens have been very popular for the past few years. Lots of people believe the two terms are interchangeable, but there are quite a few differences! We’ll go over nutrition contents, growing methods, and how to prepare them for consumption.

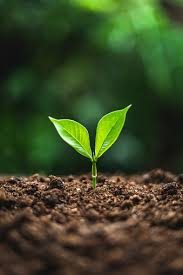
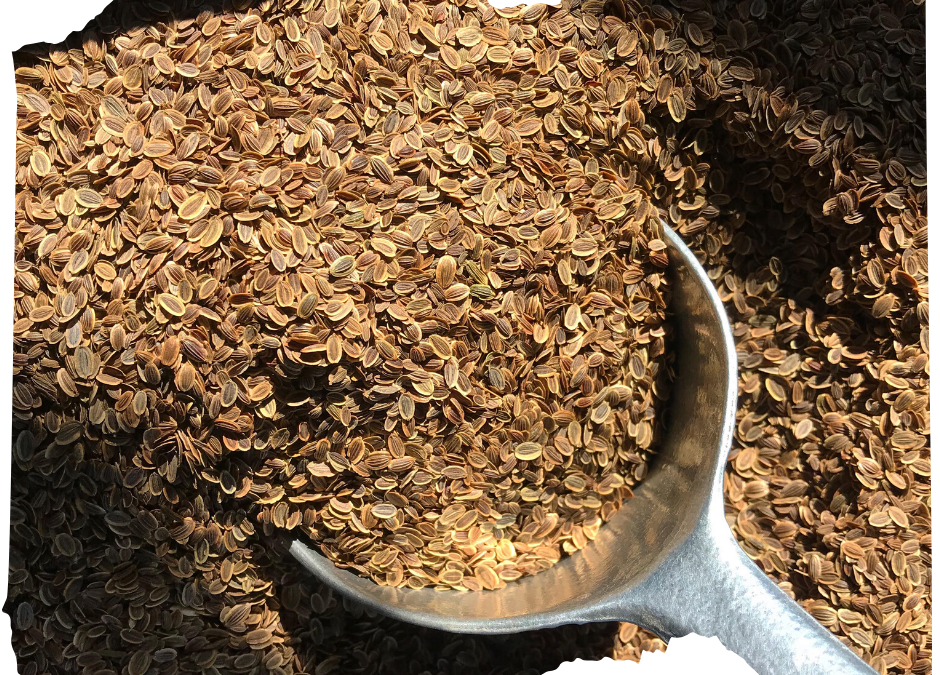
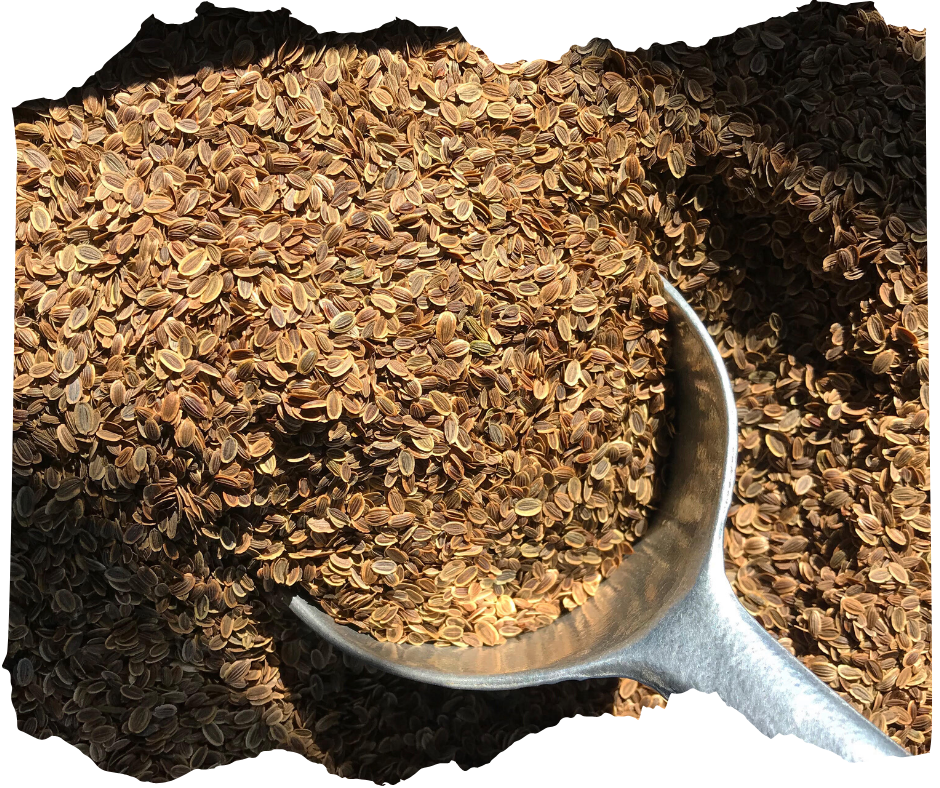
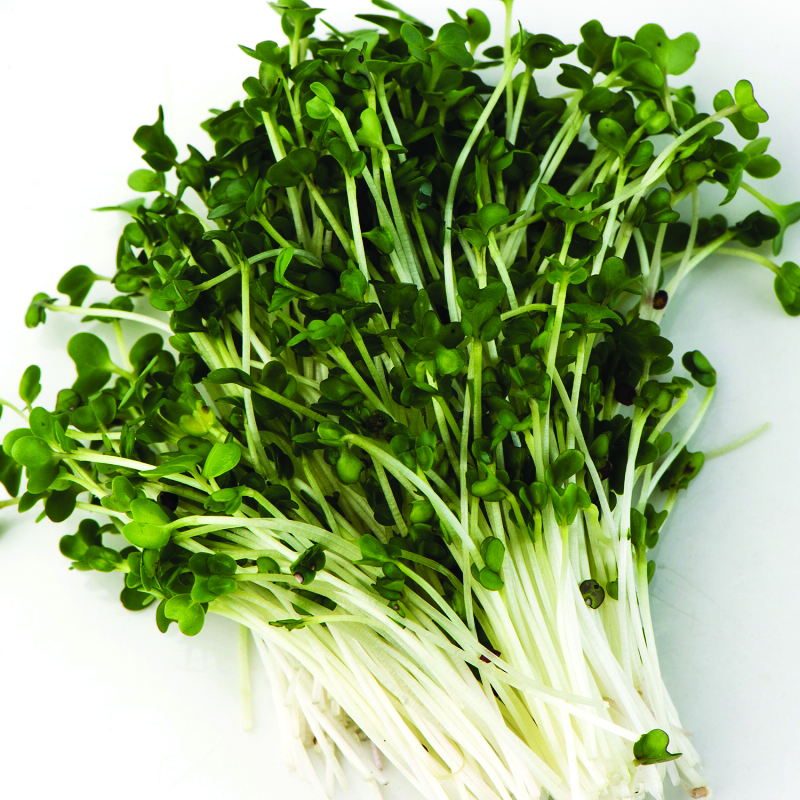
Sprouts consist of just the root and cotyledon (seed) leaves, which contain all the nutrients held within the seed. They’re filled with lots of protein and fibre despite their tiny size. Popular varieties of sprouts include broccoli, alfalfa, and mung bean, but there are plenty of other types for you to explore! Sprouts are a good option if you have little patience; it typically takes less than a week for them to be ready for harvest.

Sprouts are usually grown in a glass jar, so they take up very little space. They require no light, so they’re perfect for a countertop that doesn’t get much sun. There’s no growing medium involved in growing sprouts; they just need water. Because of this, you can eat the seed and root as well as the greens! Since they grow in a damp space with little ventilation, the seeds need to be rinsed and drained at least twice a day to prevent bacterial growth. If you spot mold growing in your sprouts, give them a rinse with some food-grade hydrogen peroxide then rinse thoroughly with water. Even taking these precautions, it’s recommended to cook the sprouts before consuming to ensure no bacteria remains. Sprouts are great in stir-fry!

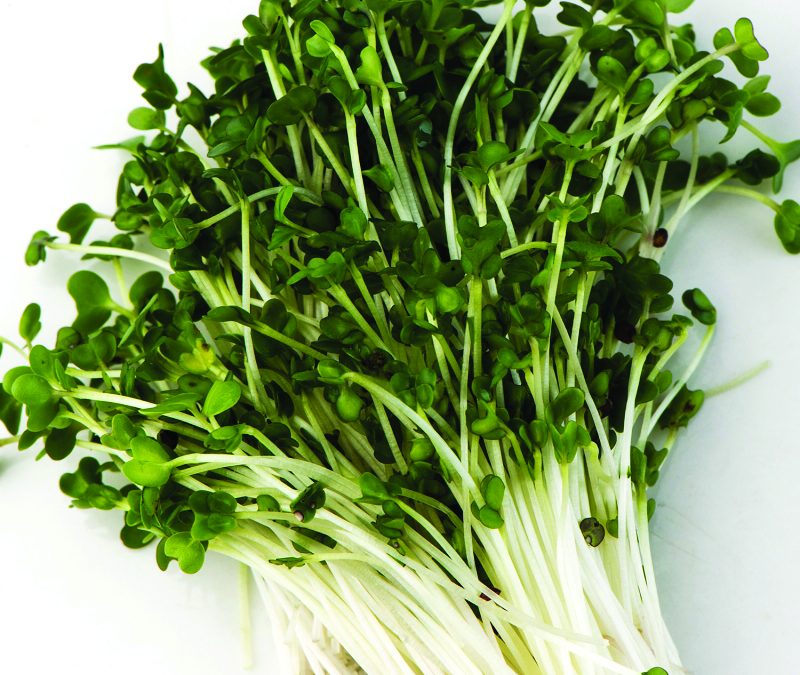
Microgreens are more mature than sprouts, but still very young — around 1-3 weeks old. They’re old enough to have grown their first true leaves, so they’re more concentrated with nutrients than sprouts. Some microgreen varieties were also found to be up to 40% more nutrient-dense than their mature counterparts. Particularly, they are packed with iron, potassium, magnesium, copper, and zinc, as well as containing lots of antioxidants which are excellent for your general health. Popular microgreen varieties include beets, kale, sunflowers, and more.

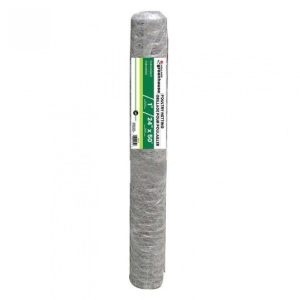
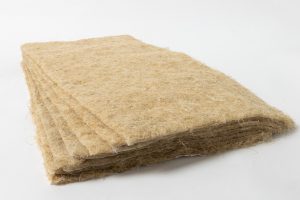
Growing microgreens is similar to starting seeds. Typically, a tray of seed starter soil or a grow mat, such as the Terrafibre All-Natural Hemp Grow Mat, is used to grow microgreens. They require plenty of light and regular watering to grow properly. Misting several times a day with a spray bottle should suffice. Because they’re usually grown in soil, the seed and root are not consumed. Instead, it’s recommended to snip the greens at the soil line when it’s time to harvest. Microgreens are safer to eat raw than sprouts as they’re grown in light and open air. Some people still recommend to cook them lightly before consumption, but it’s up to personal preference. Microgreens should always be washed with cool water before eating. They’re delicious in salads and sandwiches!

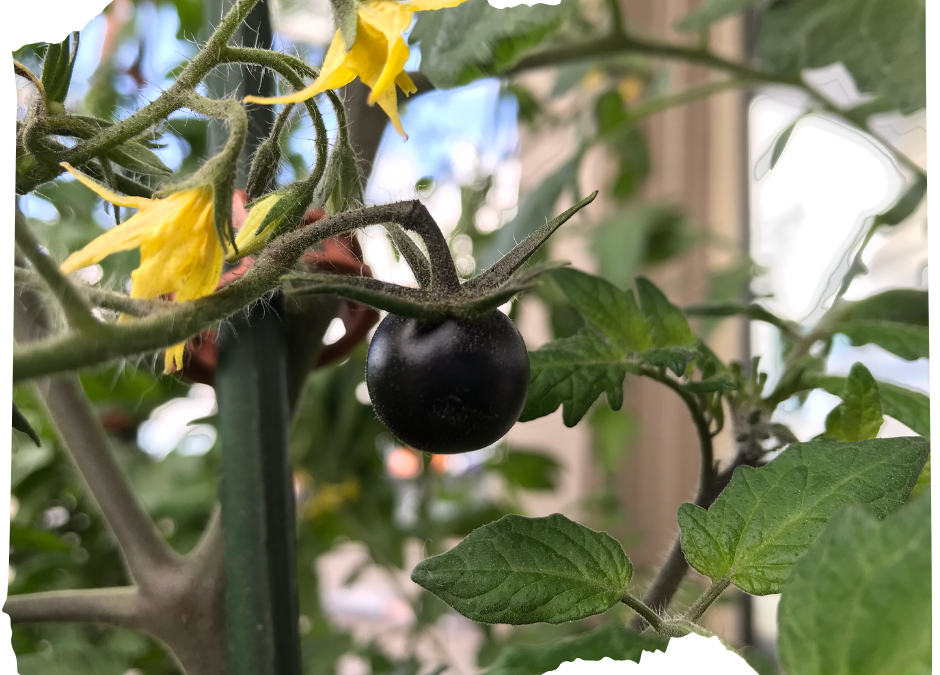
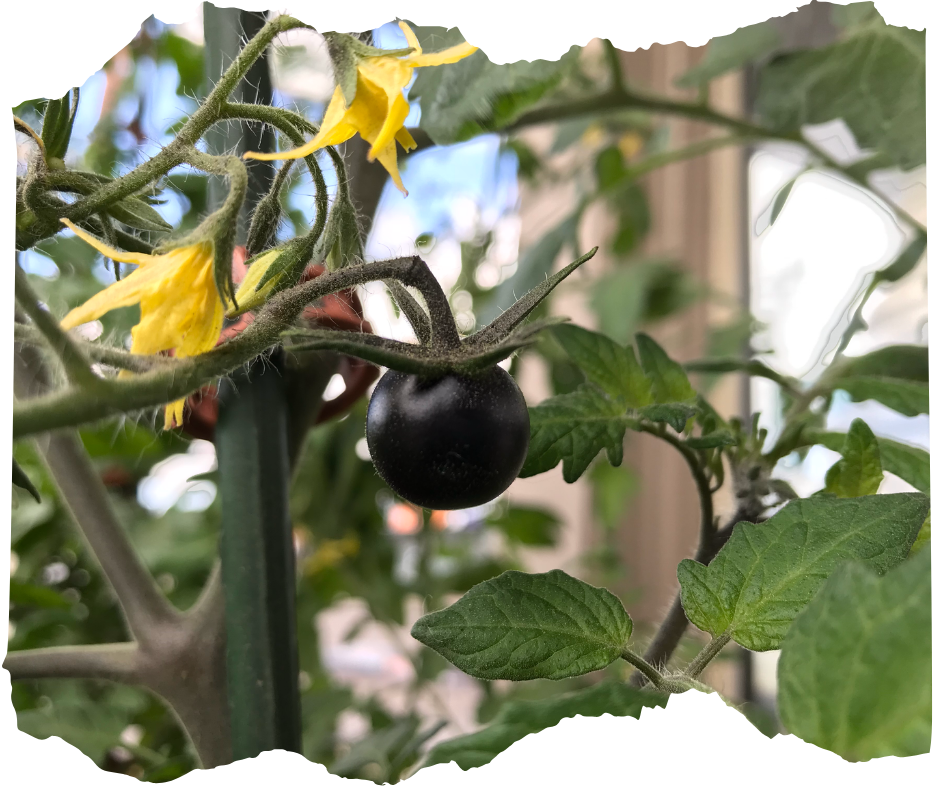
Microgreens also have a more developed flavour than sprouts. Radish microgreens are especially zesty, and herbal varieties such as basil and oregano are quite popular as well. Microgreens can be grown of any plant of which you eat the leaves and stem; however, it’s not recommended to grow microgreens of fruiting plants, especially those in the nightshade family such as peppers, tomatoes, and potatoes. The foliage from these plants can make you very sick.

As you can see, there are many differences between sprouts and microgreens. They’re each nutritious in their own ways, and the growing methods differ greatly. They’re both fun and easy to grow, though, so have fun with all the different varieties available!

By Aaron Witherspoon

Photo credit Mumm’s Seeds

Related Products

Terrafibre All-Natural Hemp Grow Mat

Available in:

1 x 10″ x 20″

10 x 10″ x 20″

Creating a Cat-friendly Garden

Creating a Cat-friendly Garden

Related Products

Holland Greenhouse Poultry Wire

Available in:

24″ x 25′ with 1″ or 2″ mesh

36″ x 25′ with 1″ or 2″ mesh

36″ x 10′ with 1/2″ mesh

American Nettings & Fabric Inc. Garden Netting

Available in:

6′ x 50′

6′ x 20′

6′ x 12′

Skeddader Cat Deterrent 310g

Skeddader is a convenient, effective natural pet deterrent product used to change animal behavior in a kind, gentle way. Skeddader pet deterrent is all natural, made right here in Canada. It is biodegradable, environmentally friendly, and safe to use for your vegetation and plant life. And, it is safe for your pets and 2-legged loved ones.

Fall Bulbs – What Should I Know?

Fall Bulbs – What Should I Know?

Fall Bulbs – What Should I Know?

By Kyrah Whyte & Julia Bowen

Some bulbs are best suited for planting in the fall. This is usually done between late-September to November. Bulbs benefit from the cold ground temperatures and this makes for a better bloom in the spring.

TIPS & TRICKS

Moisture can cause bulbs to rot. A well-draining soil can prevent this – a peat moss or compost can help to remedy this. Similarly, a warm environment may cause these plants the begin their blooming process too early. Ensure that your bulbs are going in at the right time. It is also important to consider the location that you will be planting your fall bulbs. Sunny areas will help your bulbs do best.

When fertilizing the bulbs, it is key to choose a mix that is low in nitrogen. Some options include GardenPRO Bulb Food 2-9-6 and GardenPRO Bone Meal 2-11-0.

Popular flowers to plant in the fall include allium, tulip, amaryllis, daffodil, crocus, hyacinth, fritillaria, snowdrop, narcissus, and scilla bulbs.

Tulips

Which country producers most of the world’s tulips? If you guessed Holland, you’d be right!

Tulips are spring-blooming perennials. Their roots develop in the early fall and then go dormant until early spring. Leaves can start emerging from the soil as early as February or as late as May. These come in a variety of shapes including ruffled, single, double, fringed, and more.

Planting tips: plant bulbs about 5-7” deep and 4-5” apart, placing them in the ground with their pointy ends up. Water well once and wait until spring. After flowers have bloomed, do not trim foliage.

Alliums

Allium flowers grow on the end of leafless stalks. Alliums are close relatives to onion, garlic and scallion. They are also known as “ornamental onions.” The clumps of bulbs can also be separated and replanted separately to multiply after flowering is over. These bulbs are relatively low maintenance and could be grown in a deep pot when needed, too.

Planting tips: plant bulbs about 4-8” deep and 6-8” apart. They thrive in full sun but will tolerate partial shade. Alliums are not fussy about soil, but they will not survive in soggy conditions.

Crocus

Crocuses grow 2 to 4 inches tall. Their blooms offer a variety of different vibrant colours. Many produce strong fragrances that attracts pollinators. They are small clump-forming perennials. Saffron spice comes from saffron crocus flowers. The spice is the red stigmas of the flower. Each flower will only produce approximately 3 stigmas. These flowers generally come up 6-8 weeks after planting, but occasionally wait until the 2nd fall to appear.

Planting tips: plant bulbs 3-4” deep, pointy end up. After planting, water well. Plant them in groups or clusters rather than in a single line, about 3-4” apart.

Daffodil (Narcissus)

Narcissus flowers, commonly known as daffodils are one of the most popular bulbs. They bloom for weeks on end, aren’t bothered by deer, thrive in both the garden and in pots, and are easy to plant and care for. These flowers are named after the Greek mythological story of Narcissus who fell madly in love with his reflection in the water. He was found next to a bright yellow flower, which later was named after him.

Planting tips: plant bulbs about 3-6” deep and 4-5” apart, placing them in the ground with their pointy ends up. Water well once and wait for spring. Do not cut foliage once they have bloomed.

Hyacinth

Did you know Hyacinths belong to the same family as asparagus? It was also named after the Greek god Hyakinthos. These fragrant flowers make a great addition to flower beds and tend to be avoided by rabbits.

Planting tips: plant bulbs about 4-6” deep and 6” apart. They thrive in full sun but will tolerate partial shade. Ensure that soil is well-draining. After the flower has bloomed, cut off the stalk of the flower.

Muscari

Muscari are commonly known as grape hyacinths due to the clusters of bell-shaped flowers. Rarely disrupted by deer and rodents, these make a great choice if you live near a forest or river valley. Muscari typically flower mid- to late-spring. These will multiply on their own.

Planting tips: plant bulbs about 4” deep and 3” apart. These can be planted in full sun or partial shade. Only water if conditions are particularly dry.

Fritillaria

The variety Fritillaria Meleagris is also known as Guinea Hen Flower or Snake’s head fritillary. These varieties need only be planted a couple inches deep. It is important to note that the planting depth and spacing varies among some varieties. For larger varieties like Crown Imperials, plant 6″-8″ deep and about 12″ apart. On the other hand, the Fritillaria Michailowsky should only be planted about 4″ deep and 6″-8″ apart.

Since fritillarias vary so much in their planting instructions, a good habit is to plant them about 3 times deeper than the size of the bulb. Space these apart more than you would other bulbs. Just about double the planting depth should suffice.


Snowdrop (Galanthus)

‘Galanthus’ means milk flower in Greek and gracefully describes these drooping, delicate flowers. Interestingly, a compound called galantamine can be extracted from these flowers. This is used in the treatment of Alzheimer’s disease.

Planting tips: plant bulbs about 3″ apart and 3″ deep. These may take over a year to be established, so don’t fret if your snowdrop does not flower for a while.  Choose a spot that is partially sunny to shaded.

Garlic

Fall garlic is hard necked and can be overwintered. It is commonly believed that fall garlic has a stronger flavour and grows larger than soft necked garlic. It is best to plant at least three weeks prior to first frost.

Planting tips: plant individual cloves, peels intact, pointy end up, 2 inches deep and 6 inches apart. A good rule of thumb is to not plant garlic until after the autumnal equinox.

Related Products

Related

GardenPRO Bone Meal 2-11-0 1.2kg, 5kg

GardenPRO’s Bone Meal is a 2-11-0 mix derived from fish bone meal. Provides a great source of phosphorus for trees, shrubs, flowers, and bulbs.

GardenPRO Bulb Food 2-9-6 1.8kg

GardenPRO’s Bulb Food contains kelp and potash to help with winter survival. Use on all bulbs to help increase disease and pest resistance.

Sea Soil Compost 32L Bag

Sea Soil Original Compost is an excellent choice for amending your soil. It is OMRI certified and can help break up heavy clay soils, retain moisture, and provide necessary nutrients for growing plants. It contains a mix of 2 year composted fish and forest fines for a rich, dark compost with no unpleasant odour.

Starting Seeds Indoors

Starting Seeds Indoors

Starting Seeds Indoors

Many seeds like beans, carrots, and sunflowers can be sown directly in the garden when spring comes around, but some must be started early. The back of most seed packets will indicate how many days or weeks to start your seeds indoors before the last expected frost date. Most years, the last expected frost date for Edmonton is around the Victoria Day long weekend (mid-May). This is when many gardeners get out in their gardens and get planting.

If starting from seed this year, consider providing your growing seedlings with bottom heat to help with germination rates. If you do not own a heat mat, it can help to place them in a warm location like the top of a fridge while they sprout.

Additionally, ensure that the seedlings have a strong source of light when they come up or they may get leggy. A grow light would work best as it can be placed directly over the seedlings, but a large, bright southern-facing window would also work. Ideally, they should be receiving about 14-16 hours of light per day.

Cold-hardy vegetables like many types of broccoli, brussel sprouts, cabbage, kale, and swiss chard can be started inside in early March since they can be transplanted outside before the last expected frost date. Remember to harden them off before transplanting them to ensure they are strong enough to withstand the cooler night temperatures.

Try planting eggplant, tomato, pepper or other cold-tender varieties in early to mid-March. Since they are not particularly cold-hardy, they will need to be transplanted outside when the night-time temperatures are no longer as cold.

Vegetables like cucumbers, squash, and melons can be planted in mid-late April. Keep in mind that they are susceptible to root damage if handled too roughly during transplant so extra care should be taken with these seedlings.

The same routine can easily be followed for hundreds of varieties of annual flowers. Simply check the back of the packages and count backwards from our last expected frost date to get an idea of when to start them inside.

When the time comes to start planting, consider choosing a nice seedling starter mix rather than regular potting soil. Seedling mixes will be finer than regular soils and will make it easier for the seeds to come up.

As far as containers go, your seeds can be started in pretty much anything you can think of that will allow for easy removal and transplanting of the seedlings. For instance, plastic cell inserts come in a variety of sizes and will conveniently fit into a standard propagation tray to catch any excess water or dirt. Jiffy pellets are also incredibly convenient and any unused pellets can easily be stored for next year’s garden since they are so small. Paper-based egg cartons are also a good choice and can be planted directly in the garden if watered in well to help break them down.

It may seem daunting at first to start plants from seed, but it truly is a rewarding and straightforward process that new growers and experienced gardeners alike can accomplish.

Happy planting!!


By Evelyn

Planning Next Year’s Garden

Planning Next Year’s Garden

Planning Next Year's Garden

Most of us only have finite space available for planting a garden. With hundreds of options, choosing the right seeds and plants can definitely be intimading, but it’s never too early to start planning so you can be ready when spring finally comes along.

Start by figuring out how much space you have. Measure your garden and you will have a better idea of what kinds of plants you will be able to fit into your space; maybe a bush bean will take up too much space, but a pole bean would fit in perfectly.

Also consider the exposure of your garden. Southern exposures with lots of sun would be perfect for tomatoes and peppers whereas northern exposures with more shade would allow lettuces and other greens to thrive.

Now it’s time to start thinking about what exactly you’d like to grow. How much space do you want to allot for annual flowers and how much will be taken up by vegetables? From beets, carrots, potatoes, corn, and squash to marigolds, violas, snapdragons, sunflowers, and zinnias there really are no wrong choices. Simply select plants that will suit your preferences and garden space.

It’s also important to think about what other preferences you have in order to narrow down which varieties to get. Do you want a loose leaf or a head lettuce? Furthermore, do you like red or green lettuce? Maybe you prefer a large beefsteak over a sweet cherry tomato. Are you going to be pickling cucumbers or eating them fresh? Do you want a tall sunflower to draw attention, some bright vining nasturtiums, or shorter pansies to border the garden bed? These are just some of the questions you may find yourself asking.

As well, some plants can be planted numerous times throughout the season so that you have a fairly continuous harvest. Think about whether you will want to be storing your vegetables for winter use or if you will be enjoying them right away. Do you want to make cutflower bouquets or will you want a long-living bloom? You’ll have to consider which varieties will suit each purpose best.

Keep in mind whether you would like to buy started plants in the spring or if you would like to start seeds early yourself. Buying plants is more convenient and requires less planning, but it may be difficult to get particularly rare or unique varieties if that is something you’re interested in. For our climate, some seeds like tomatoes, peppers, and eggplants should be started as early as February.

Make a brief outline of your preferences and how much space you have. Soon you’ll be on your way to having a complete garden plan and before you know it spring will be here!

Happy planting!!


By Evelyn